
Replacing The Drum Brake Components On Your Vehicle is an Expert-Level Repair for DIYers. Here’s Everything You Need to Know to Replace Brake Shoes and Drums.
- DIY Difficulty Level: Expert
- Time Required: 2 hours
- Tools & Materials: Eye protection plus specialty tools such as brake spring pliers, spring retainer tool, brake shoe adjusting spoon
What Are Brake Shoes and Drums?
The term “shoes” and “drums” are used for vehicles equipped with drum brakes, while “pads” and “rotors” are used for the components of disc brakes. When you press the brake pedal, fluid in the master cylinder applies hydraulic pressure to a single wheel cylinder on each side, which in turn exerts an outward force that presses the brake shoes against the spinning brake drums. This friction is what stops your car. Over time, the material used for the brake shoes and drums wears out, and this wear is determined by factors that include the weight of your vehicle, road conditions (flat vs. hilly), your driving style, if you use the vehicle for towing, and more. Bottom line, the harder you are on your brakes, the sooner they will wear out. Knowing how to replace brake shoes and drums can save you hundreds of dollars.
Most modern vehicles are equipped with four-wheel disc brakes, but some vehicles still use front disc brakes and rear drum brakes. The highly advanced, all-electric Volkswagen ID.4 is one such example, and it uses rear brakes that are designed to last the life of the vehicle! Many classic vehicles use four-wheel drum brakes, although this wasn’t very common after the 1960s. Drum brakes usually last considerably longer than disc brakes as you should be able to get a set of rear drums to last for the same amount of time as two or three sets of front brake pads.
While disc brakes are among the easier repair jobs for a DIYer, drum brakes are far more complicated and potentially more dangerous. If you’re a beginner DIYer, you might want to consider outsourcing this job. Performing regular preventive maintenance such as the replacement of disc brake shoes and drums will help keep your car on the road… even for a million miles!
Drum Brakes on Disc Brake Cars?
Even if your car has four-wheel disc brakes, knowing how drum brakes work (and how to replace them) can still be useful information. That’s because some disc brake systems use drum brakes for the parking/emergency brake system. On these vehicles, the parking/emergency brake is engaged by cable (rather than hydraulic fluid), which in turn applies pressure to the inside “hat” area of the brake rotor.
Is It Safe to Drive with Worn Brake Shoes and Drums?
The lifespan of brake shoes is measured in millimeters, and once you get to between 1.5 mm to 3 mm in thickness, you should start thinking about replacing the shoes. In some cases, the leading (closest to the front of the car) brake shoe can wear faster than the trailing braking shoe. Not only is it unsafe to drive with brake shoes that are too thin, doing so could cause unnecessary damage to other brake system components such as the drums and/or wheel cylinders.
What happens if I don’t do this? How bad could things get?
If you don’t replace the brake shoes before they get to their minimum thickness, it can end up costing you more in the long run. Generally speaking, brake drums can outlive at least two or three sets of brake shoes before requiring replacement, but driving with shoes that are too worn out could cause excessive and premature damage to the drums. Worst case scenario, if the shoes are worn too thin, the wheel cylinders could be extended too far and create a brake fluid leak causing decreased braking performance.
In short, why is this job important?
Keeping your vehicle’s braking system properly maintained is important to ensure a safe-driving vehicle. Additionally, preventative maintenance such as replacing almost-worn-out brake shoes helps to save you money in the long run compared to waiting until the pads are worn out and affect the condition of the drums.
The average cost to replace brake shoes and drums is estimated to be between $458 and $519. Based on the expert difficulty level, this job could prove to be a challenge for beginner DIYers. Those willing to undertake a brake shoe and drum replacement should expect the job to take about two hours to complete, and you could save upwards of $200 in labor costs by doing the work yourself.
How often should you replace this part?
The life of your brake shoes and drums directly correlates to how and where you drive your vehicle, but generally speaking, brake shoes tend to last at least 50,000 miles. It’s not uncommon for brake shoes to last twice as long, though. If you drive carefully and keep up on maintenance, the brake drums should survive at least two sets of brake shoes before requiring replacement; in some cases, the drums will need to be machined but not replaced.
How do you know when it’s time to have this done or do it yourself?
The most common indicator that it’s time to replace the brake shoes and drums is a noise or vibration noticeable when the brake pedal is pressed. If the drum brakes are squealing or grinding, you’ll want to get the brakes inspected very soon.
What Are Common Symptoms Indicating You Need New Brake Pads and/or Brake Rotors?
- Parking brake doesn’t hold vehicle securely
- Grinding or scraping noise when brake pedal is pressed
- Vibration (felt in the pedal or steering wheel) when you press the brake pedal
- Mileage determined by manufacturer’s preventative maintenance schedule
- Visual inspection shows worn brake shoes (if the shoes look damaged or are less than serviceable thickness)
How To Replace Brake Shoes and Drums
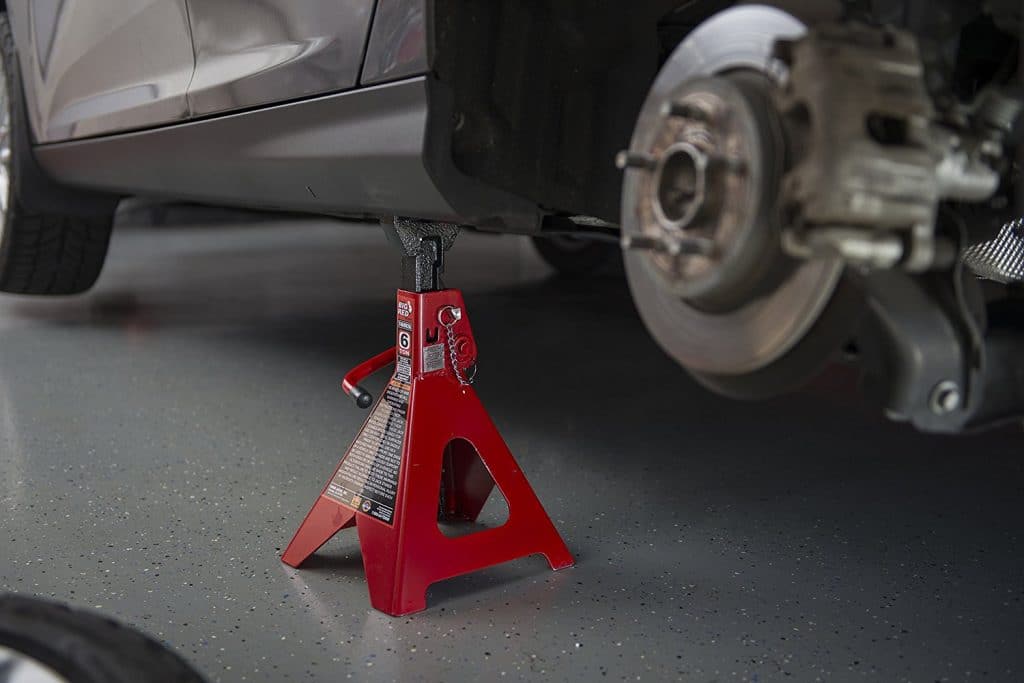
Step 1: Safely jack up vehicle and remove wheels and tires
Step 2: Remove brake drums
Removing the brake drums can be a bit of a challenge most of the time. The first thing you’ll want to try is just to tap the drum (not too hard) around the hub to loosen up any rust. Some brake drums have small, threaded holes that are designed to allow users to thread bolts into them to press the drum off the hub. Worst case scenarios, you might need to remove the rubber dust cap on the back side of the backing plate to loosen the brake shoe adjuster.
Once the drum is removed, there is usually a lot of brake dust built up around the shoes and hardware. Spray this off with compressed air but be sure not to breathe in this dust; it wouldn’t hurt to wear a facemask for this step.
Step 3: Remove brake shoe hardware

- First, use the brake spring pliers to remove the spring from the top of the brake shoe.
- Next, use the spring retainer tool to press and twist the retainer spring until it lines up with the clip so it can be removed.
- Finally, use a set of pliers to remove the parking brake cable.
Pro Tip: It’s very helpful to do just one side at a time, but just like when you’re replacing a serpentine belt, it wouldn’t hurt to take a picture of the brake shoes and hardware before you remove them. This way you will have a reference point during reinstallation.
Step 4: Clean and lubricate brake shoe rub areas
While everything is disassembled and removed, this is a good time to inspect the brake wheel cylinders. Pull back the rubber boots and look for evidence of brake fluid. This area should be dry. If fluid is leaking, now would be an easy time to replace them, but that is a different repair that requires knowledge of bleeding brakes.
Step 5: Inspect brake wheel cylinder
While everything is disassembled and removed, this is a good time to inspect the brake wheel cylinders. Pull back the rubber boots and look for evidence of brake fluid. This area should be dry. If fluid is leaking, now would be an easy time to replace them, but that is a different repair that requires knowledge of bleeding brakes.
Step 6: Reinstall brake shoes and hardware
Install new brake shoes and existing brake hardware in reverse order from Step 3. Use a screwdriver to spin the wheel on the brake adjuster. You’ll know it’s properly adjusted when the brake drum can be installed easily and spins with just a little bit of drag. You don’t want the adjuster to be too loose or too tight. Reinstall the brake drums.
Step 7: Reinstall wheels and tires, and lower vehicle
Step 8: Press brake pedal and check brake fluid, top off if necessary

Unlike replacing disc brakes, installing new drum brakes shouldn’t affect the brake fluid level. That being said, you should still press the brake pedal a few times to make sure everything is ready to be driven and double check the level of the brake fluid in the master cylinder reservoir.
Pro Tip: Most vehicles use Dot 3 brake fluid, but check your owner’s manual to verify the type of brake fluid your vehicle requires.
Step 9: Double check the operation of the parking/emergency brake
Once the vehicle has been lowered, set the parking/emergency brake to ensure proper adjustment. If this brake is too loose or too tight, it can be adjusted by removing the rubber plug from the backing plate, and using the brake adjusting spoon to loosen or tighten the shoe-spanning wheel.